
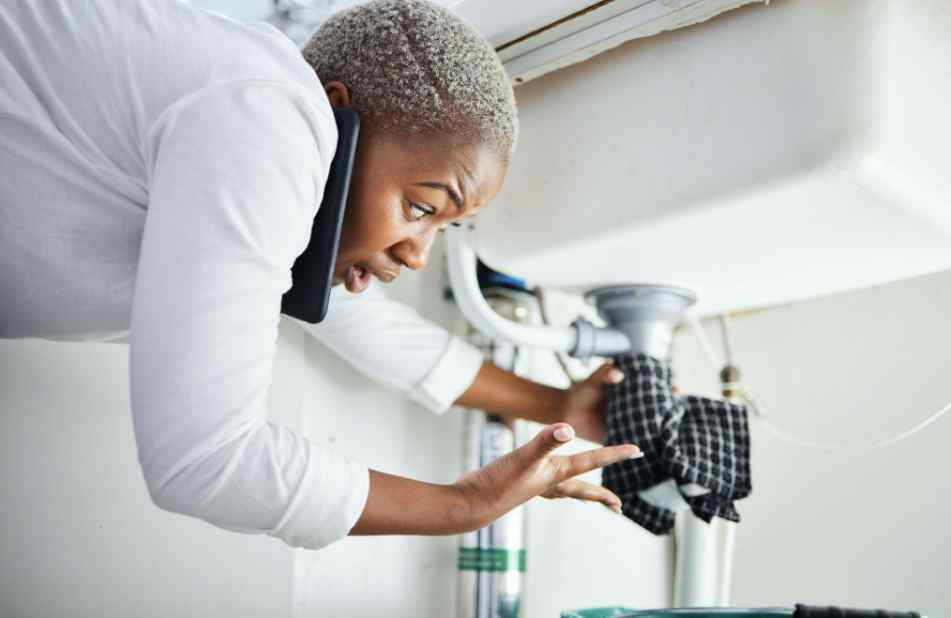
Every homeowner will eventually face a plumbing malfunction, whether it is a minor dripping bathroom faucet or a sudden, catastrophic burst pipe in the basement. Water is a powerful force that can rapidly rot structural wooden framing, ruin drywall, and warp flooring within a matter of minutes. Despite the high risks associated with water leaks, many people treat their home’s utility pipes with an out-of-sight, out-of-mind attitude. They ignore the small early warning signs of system failure, transforming simple, inexpensive maintenance tasks into massive structural remodeling projects.
Successfully managing your home’s water infrastructure requires moving past passive observation to adopt a proactive containment strategy. Maintenance tracking data gathered by regional support networks like Browns Plumbing highlights that knowing how to instantly isolate a mechanical failure reduces property remediation costs by thousands of dollars. Shifting your approach from blind panic during a crisis to executing a planned, disciplined sequence ensures your property stays dry, secure, and operationally sound through any utility challenge.
1. The Critical First Line of Defense: Locating Main Isolation Valves
When a pipe splits open or a washing machine supply line bursts, you do not have time to scroll through online tutorials or look for a phone number. Your absolute first priority is to stop the continuous flow of pressurized water into your living spaces immediately.
To effectively protect your home, every adult living in the household must memorize the precise physical locations of these two vital shut-off mechanisms:
- Fixture-Specific Shut-Off Valves: Located immediately beneath toilets and sinks, these small chrome dials isolate individual fixtures. If a toilet begins to overflow, turning this specific handle clockwise stops the water instantly without cutting off utility access to the rest of the house.
- The Main Water Shut-Off Valve: This heavy-duty master valve controls the entire water supply entering your property. It is typically located in the basement, utility closet, or near the water meter close to the front foundation wall. In a major emergency, turning this master valve completely off stops all internal water movement instantly.
2. Deciphering Subtle Early Warning Signs of Hidden Water Leaks
Not all plumbing failures happen with a dramatic, loud explosion. In fact, some of the most destructive property damage is caused by slow, hidden leaks that quietly drip inside wall cavities or beneath floorboards for months before being discovered.
[Pinhole Copper Leak] → Slow moisture tracking → Drywall rot & structural mold growth
To catch these hidden structural threats early, look for these three subtle environmental indicators during your weekly cleaning routines:
Unexplained Changes in Water Pressure
If your showerhead or kitchen faucet suddenly loses its standard rinsing power, it could mean that pressurized water is escaping through a cracked pipe joint before it ever reaches the fixture. Pay close attention if the drop in pressure is confined to just one specific area of the house.
Auditory and Visual Clues
If you hear a faint, continuous sound of rushing or dripping water behind your walls when all household appliances are turned completely off, you have an active leak. Visually inspect your ceilings and baseboards regularly for soft spots, bubbling paint, or damp, yellowing stains that point to water tracking above.
3. Dealing with Clogged Drains: Safe Clearing Methods vs. Chemical Pitfalls
When a kitchen sink or bathroom drain slows to a crawl, many homeowners automatically reach for a bottle of chemical liquid drain cleaner from the grocery store shelf. This is an incredibly risky shortcut that can ruin your utility lines.
Chemical Cleaners → Intense exothermic heat reaction → Softens PVC pipes & corrodes old metal lines
Chemical drain openers rely on harsh acids to burn through hair and organic grease traps. This reaction creates extreme heat inside your pipes that can permanently warp modern plastic PVC lines and rapidly corrode older cast iron or copper connections. Instead of relying on dangerous chemical treatments, use these three mechanical clearing methods to safely open your lines:
- The Standard Cup Plunger: Create a tight, airtight seal over the drain opening and use firm, rhythmic vertical plunges to use localized air pressure to dislodge soft blockages.
- The Manual Drain Auger (Snake): Feed a flexible steel cable directly down into the drain pipe to physically catch, break up, and pull out stubborn hair clogs without applying stress to the pipe walls.
- The P-Trap Mechanical Removal: Place a bucket beneath the curved pipe under your sink, manually loosen the slip nuts, and clear out packed solid debris by hand for an absolute fix.
4. Establishing a Preventive Home Maintenance Protocol
The most effective way to handle a major plumbing repair bill is to ensure the mechanical failure never happens in the first place. By dedicating just one hour every few months to a basic system audit, you can catch major wear and tear before it creates a crisis.
Regularly check the flexible rubber hoses connecting your washing machine and dishwasher to the wall; if you see any cracking, bulging, or blistering, replace them immediately with durable braided stainless steel lines. Walk through your basement to check exposed metal pipes for signs of greenish corrosion or white crusty mineral deposits, which mark locations where weak joints are beginning to weep. Taking these simple, disciplined preventative measures shields your asset from unexpected capital expenses and keeps your home running smoothly all year long.